Self-Hosting Ghost 6 on Linux with Docker Compose (2025 edition)
So, you’ve got a Linux server running at home, and now you're thinking, "Why not use it to share my thoughts with the world?"
Maybe you want to write tutorials, document your projects, or just start a personal blog using something clean and modern like Ghost, which is exactly what I’m using here. If that sounds like you, then you’re in the right place!
📑 Table of Contents
- 📘 Introduction
- 🛠️ Prerequisites
- 📧 Why You Should Configure Email (SMTP)
- 📝 Writing the 'docker-compose.yml' File
- ▶️ Starting and Accessing the Blog
- 🧰 Managing Your Ghost Blog with Docker
- 📊 (Optional) Analytics in Ghost
- 🔗 (Optional) Enable ActivityPub / Social Web
- 🌍 Want to Use a Domain and HTTPS?
- 🐞 Troubleshooting
- ✅ Final Thoughts
📘 Introduction
In this guide, I’ll walk you through how to self-host a Ghost blog using Docker Compose. While it’s beginner-friendly in the sense that it’s step-by-step and avoids unnecessary complexity, I will assume you’re somewhat familiar with using the terminal and Docker. This helps keep the guide focused, efficient, and practical, so we won’t dive too deeply into explaining every tool or command.
By the end, you’ll have your own Ghost blog up and running, ready to publish posts and fully under your control.
🛠️ Prerequisites
Before we get started, make sure you have the following:
- ✅ A Linux server (can be a home server, Raspberry Pi, or old PC running Ubuntu/Debian)
- ✅ Basic familiarity with the Linux terminal
- ✅ Docker and Docker Compose already installed
- ✅ A working SMTP email account (e.g. Gmail) for sending login and system emails
Ghost requires working email even for local login, it sends a verification link to complete the sign-in process. If email isn’t set up, you may get stuck in a login loop. I’ll explain more below.
- ✅ (Optional but recommended) A domain name for public access
💡 Do I Need a Domain Name?
You don’t need a domain to get started. You can run Ghost locally on your home network using
localhostor your local IP.That said, using a custom domain with a service like Cloudflare Tunnel makes accessing your blog from anywhere much easier and more secure.
I cover how to set that up in this guide on setting up a Cloudflare Tunnel on Linux. You can also start without a domain and add one later.
📧 Why You Should Configure Email (SMTP)
When you first set up Ghost, it asks you to create an admin account. Normally, this triggers a confirmation email, but if email isn’t configured, it silently fails, and you might still get through the setup.
However, Ghost requires working email to log in later. If SMTP isn't properly set up, the login screen will try to send you a verification email, fail silently, and get stuck in a loop before eventually timing out.
💡 That’s why I recommend setting up SMTP (email) right from the beginning, even if you’re just running Ghost locally.
You can use Gmail’s SMTP service with an App Password, or any other email provider that supports SMTP. We'll include this in the Docker Compose file below.
📝 Writing the 'docker-compose.yml' File
Before we launch your Ghost blog, let’s create a dedicated directory to keep things organized, and write your Docker Compose configuration.
Step 1: Create Your Project Folder
First, create a folder where all your Ghost files and configuration will live:
mkdir -p ~/ghost-blog
cd ~/ghost-blog
Step 2: Create the Compose File
Now let’s create your docker-compose.yml file inside the folder.
I'll be using nano, but you can use vim or any other terminal-based text editor you prefer.
sudo nano docker-compose.yml
Inside this file, paste the following content:
version: '3.8'

services:
  ghost:
    image: ghost:6
    container_name: ghost_blog
    restart: unless-stopped
    ports:
      - "2368:2368"
    depends_on:
      - db
    environment:
      url: http://192.168.1.1:2368
      mail__transport: SMTP
      mail__options__host: smtp.gmail.com
      mail__options__port: 587
      mail__options__secure: "false"
      mail__options__auth__user: [email protected]
      mail__options__auth__pass: your-app-password
      database__client: mysql
      database__connection__host: db
      database__connection__user: ghostuser
      database__connection__password: password
      database__connection__database: ghostdb
    volumes:
      - ./content:/var/lib/ghost/content

  db:
    image: mysql:8
    container_name: ghost_mysql
    restart: unless-stopped
    environment:
      MYSQL_ROOT_PASSWORD: your-root-password
      MYSQL_DATABASE: ghostdb
      MYSQL_USER: ghostuser
      MYSQL_PASSWORD: password
    volumes:
      - db_data:/var/lib/mysql

volumes:
  db_data:
To get this working on your own server, you only need to update a few values in the docker-compose.yml file:
| 🔑 Key | 📝 What It Does | ✅ What You Should Do |
|---|---|---|
url: |
The public address of your blog | Replace http://192.168.1.1:2368 with your server’s IP address (e.g. http://192.168.0.101:2368) or your custom domain later (e.g. https://zerotohomelab.cloudboxhub.com). |
mail__options__auth__user: |
The email Ghost will send from | Use your actual Gmail address (e.g. [email protected]). |
mail__options__auth__pass: |
The SMTP password for Gmail | Use a Gmail App Password, not your normal password. 👉 Generate one here |
MYSQL_ROOT_PASSWORD: |
The MySQL admin password | Set a strong password. It’s required but not used by Ghost directly. |
MYSQL_USER, MYSQL_PASSWORD, MYSQL_DATABASE |
MySQL credentials Ghost will use | You can change these if you like—just make sure the values match in both the ghost and db sections. |
Once you've made those changes, you're ready to start your blog!
▶️ Starting and Accessing the Blog
Now that your docker-compose.yml file is ready and properly configured, it's time to bring your Ghost blog to life.
Start the Containers
In the same folder where your file is saved (~/ghost-blog), run:
docker compose up -d
Check That Everything is Running
To verify everything is running as expected, check the container status:
docker compose ps
You should see both the ghost_blog and ghost_mysql containers listed and marked as "Up".

Access the Blog in Your Browser
Now, go to your browser and visit:
http://<your-server-ip>:2368/ghost
Replace <your-server-ip> with the address you set in the url: field of your docker-compose.yml (e.g. 192.168.0.x).
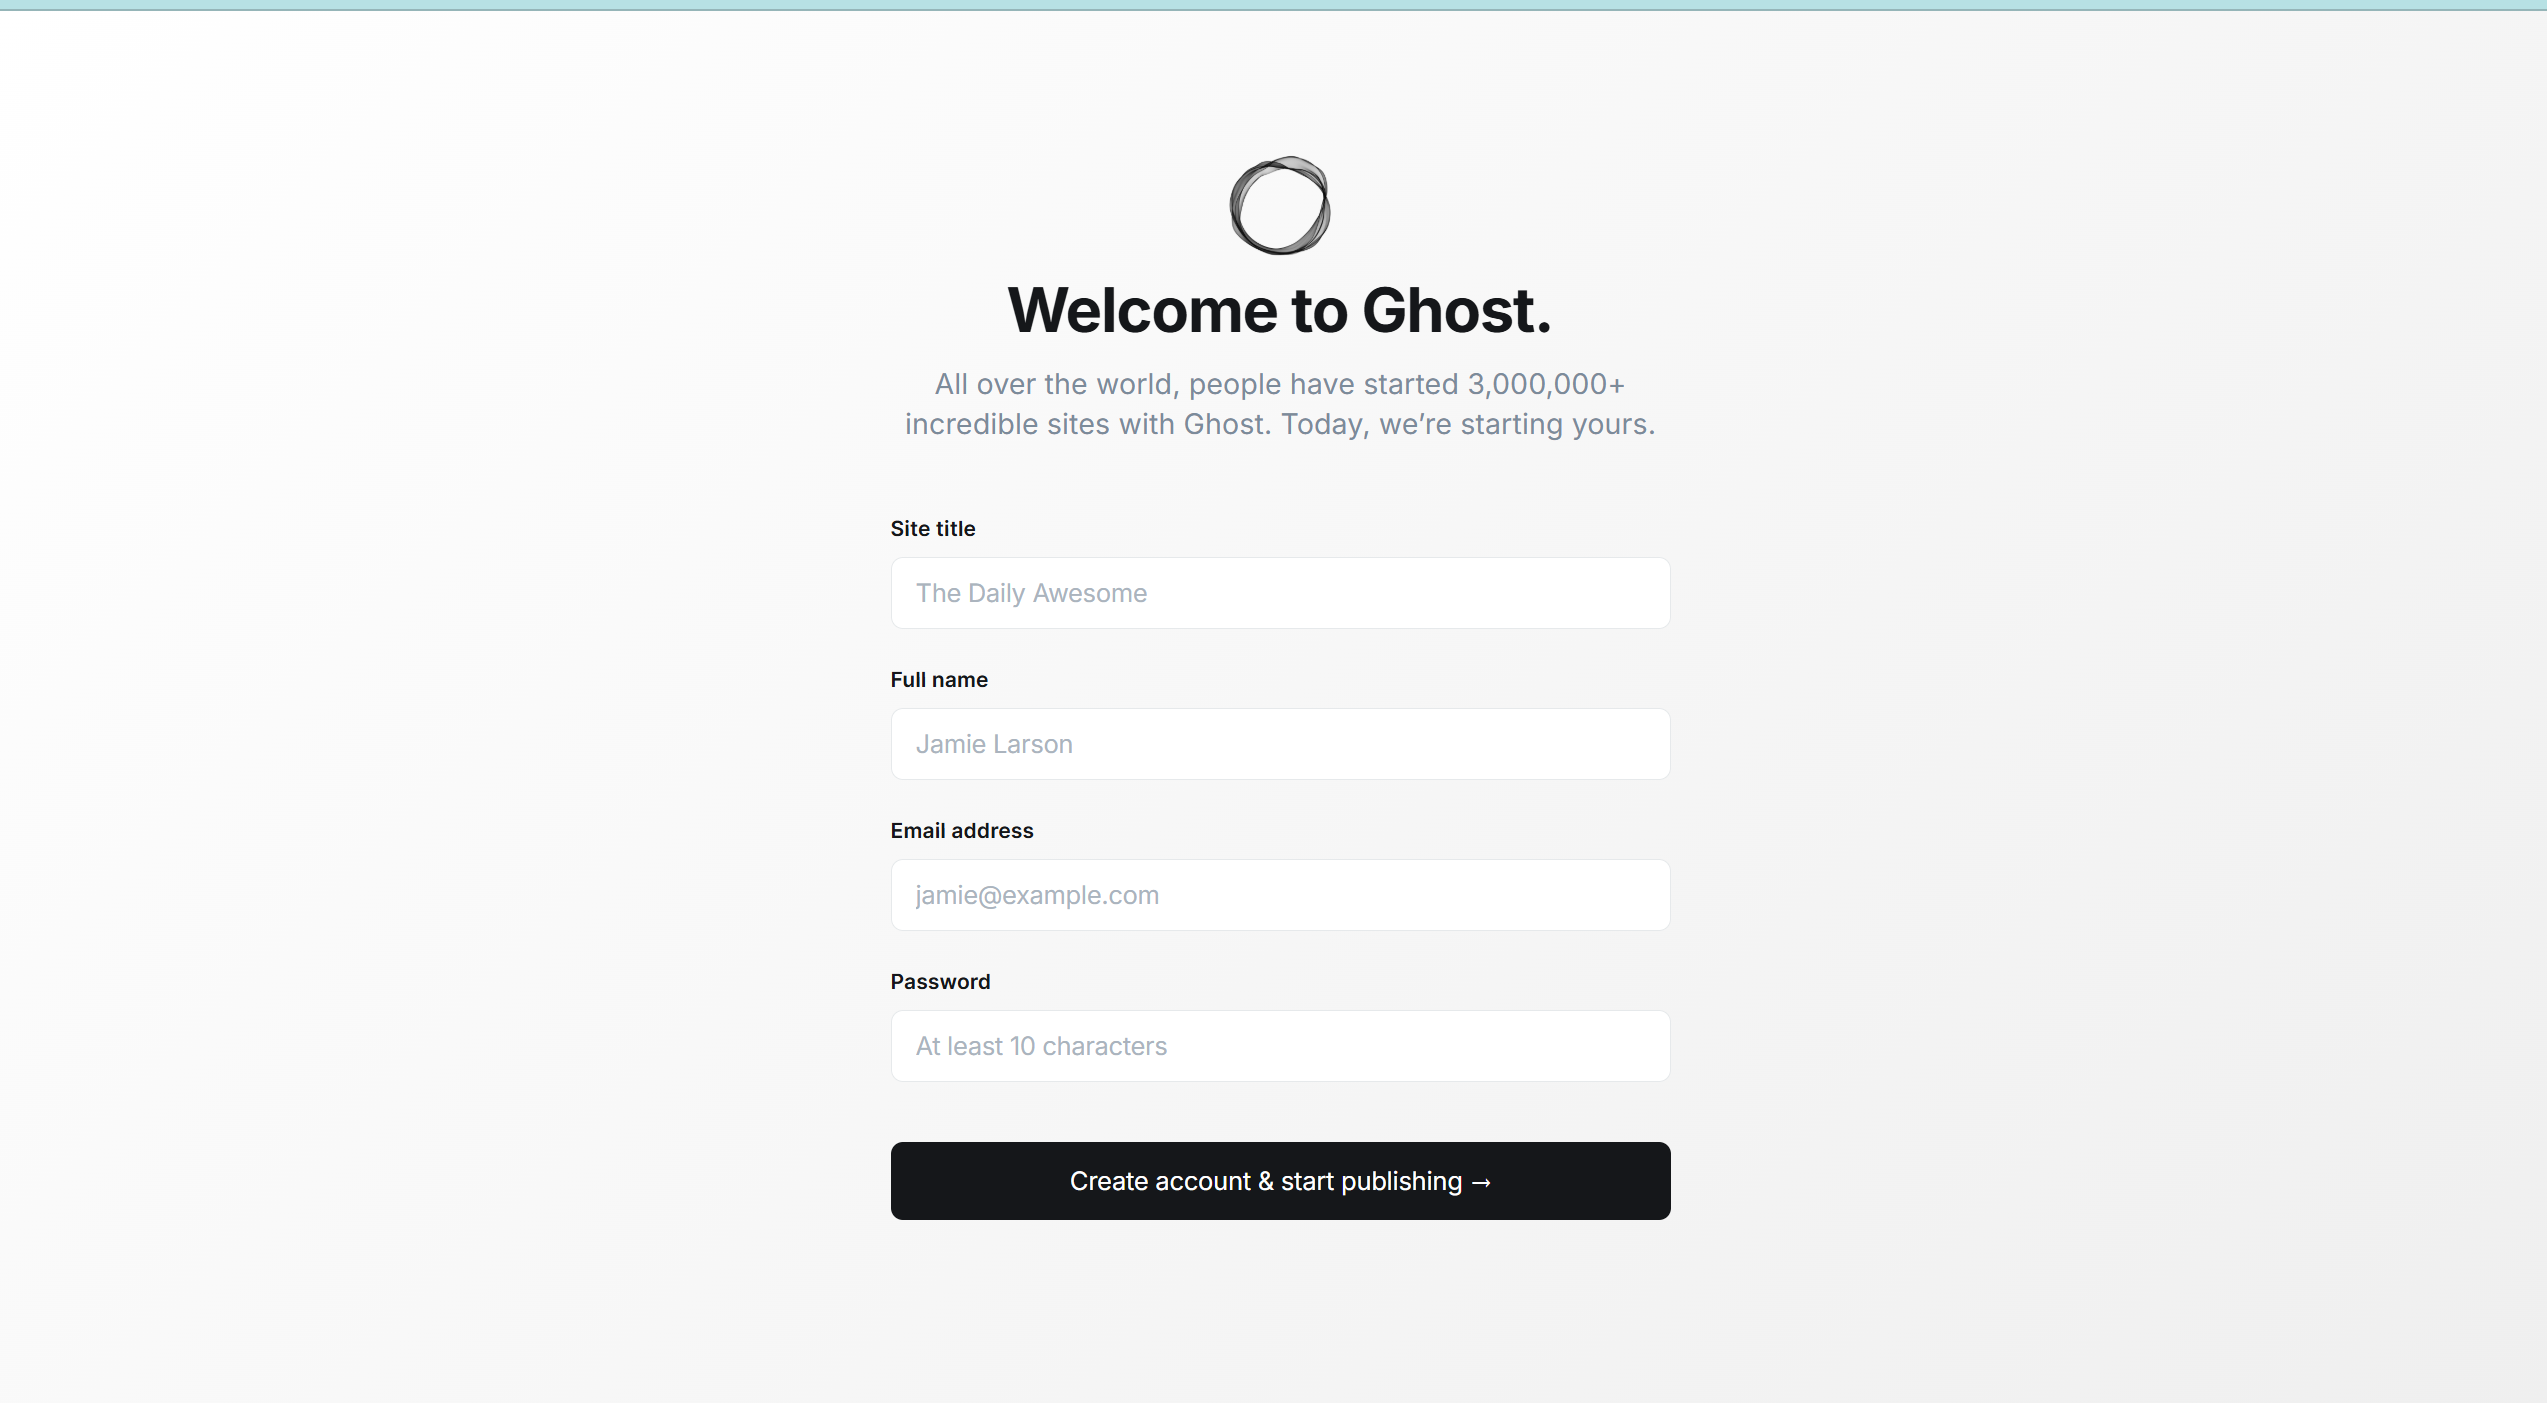
If all is working, you’ll see the Ghost welcome screen with a prompt to set up your admin account, like this:
🧰 Managing Your Ghost Blog with Docker
If you’ve used Docker before, managing Ghost will feel familiar. Here are just a few Ghost-specific things to keep in mind.
Updating Ghost
To upgrade to the latest Ghost version:
docker compose pull
docker compose up -d
This downloads the latest Ghost image and restarts the blog using your current configuration. Your content and database are safe as long as your volumes remain intact.
Backing Up Your Blog
Ghost stores your data in two places:
./content/ — Contains file-based data such as images, themes, and logs.
MySQL volume — Stores the database, including posts, users, and settings.
To back the content folder up:
cp -r ./content ~/ghost-backup/content
To backup the MySQL database run the following:
docker exec ghost_mysql mysqldump -u root -p'yourrootpassword' ghostdb > ~/ghost-backup/ghostdb.sql
Replace
ghostdbwith your actual database name and replaceyourrootpasswordwith your actual MySQL root password. If you're passing the password inline, make sure there is no space after - p, and enclose the password in quotes:-p'yourrootpassword' ✅ -p yourrootpassword ❌ (won’t work)
This command connects to the MySQL container and creates a full SQL snapshot of your Ghost database. You can use this file to restore your blog’s data later if something goes wrong.
Restarting / Stopping
For reference:
docker compose restart      # Restart blog
docker compose down         # Stop containers
docker compose down -v      # Stop and remove all data (be careful!)
Restoring Your Ghost Backup
If something goes wrong or you want to migrate your blog to a new machine, you can restore it using the backup files we created.
- Restore the content folder (images, themes, etc.):
cp -r ~/ghost-backup/content ./content
- Restore the database from your .sql file:
docker cp ~/ghost-backup/ghostdb.sql ghost_mysql:/ghostdb.sql
docker exec -i ghost_mysql mysql -u root -p'yourrootpassword' ghostdb < /ghostdb.sql
Once restored, restart Ghost:
docker compose restart
Your blog should now be back exactly as it was.
📊 (Optional) Analytics in Ghost
Ghost 6 introduced a new native analytics dashboard powered by Tinybird, giving Ghost(Pro) users real-time insights into traffic, newsletters, and member growth.
Since we’re running self-hosted Ghost, Tinybird is not integrated automatically. That means there’s no real benefit here unless you host Tinybird yourself, which Ghost doesn’t make simple right now.
👉 Instead, most self-hosters use alternatives like Umami, Plausible, or Matomo. I recommend Umami because it’s lightweight and privacy-friendly. I even wrote a full guide:
➡️ How to Add Umami Analytics to Your Self-Hosted Ghost Blog
🔗 (Optional) Enable ActivityPub / Social Web
ActivityPub is the protocol that powers the Fediverse (platforms like Mastodon and Pixelfed).
Ghost 6 (pro) introduces native support for it, but on self-hosted Ghost, it’s definitely not plug-and-play.
Ghost routes all ActivityPub traffic through its hosted gateway at ap.ghost.org, which makes things a bit tricky when you’re running Docker, Nginx, or Cloudflare in front of it.
I’ve written a full guide that explains what ActivityPub actually is and shows you exactly how to get it working on a self-hosted Ghost setup:
👉 How I Got ActivityPub Working on a Self-Hosted Ghost 6 Blog
If you’re self-hosting Ghost, this post covers everything, from the proxy setup and Cloudflare quirks to how to test that federation is really working.
🌍 Want to Use a Domain and HTTPS?
In this tutorial, we focused on getting Ghost running locally on your server.
If you'd like to make your blog publicly accessible using a domain name and secure HTTPS (via Cloudflare Tunnel), check out the next part:
👉 How to Secure Your Ghost Blog with a Domain and Cloudflare Tunnel
🐞 Troubleshooting
If you haven't ran into any issues, great, then you can skip this section! Ran into a problem? Here are a few common issues you might face and how to resolve them.
Can't Log In? SMTP Not Working
Ghost requires a working SMTP setup to send confirmation or login emails. If your SMTP settings are missing or incorrect, you'll get stuck on the login screen, it silently fails to send the verification email, then times out.
Fix:
- Double-check the email and app password in your
docker-compose.yml - Make sure your SMTP port is correct (587 for Gmail)
- Restart Ghost after editing:
docker compose restart
Still stuck? Check the logs (see below) for SMTP-related errors.
Viewing Ghost Logs
To troubleshoot errors like email issues, startup failures, or database connection problems, use this command:
docker compose logs ghost_blog -f
This will stream the Ghost container logs in real time so you can see what's happening under the hood.
You can also check the MySQL container logs:
docker compose logs db -f
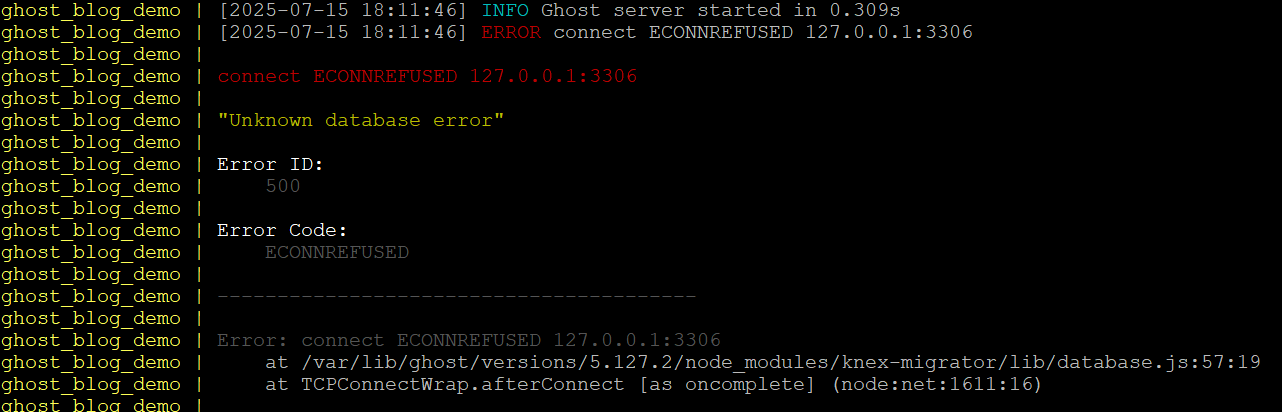
SQLite Is No Longer Supported
Ghost 5.x and later no longer support SQLite as a database engine. If you're coming from older guides or trying to set it up quickly without MySQL, you may see unexplained startup failures, like the following logs:
Solution:
This guide uses MySQL 8 via Docker, which is the officially supported setup. Make sure you don't try to switch to SQLite manually, it won’t work with recent versions of Ghost.
Tip: You can always restart from scratch with:
docker compose down -vBut be careful, -v also removes all volumes and stored data.
✅ Final Thoughts
If you've followed this guide, you now have a fully self-hosted Ghost blog running on your Linux server with Docker Compose.
You've taken full control of your content, your data, and your setup — with no need to rely on third-party platforms or expensive hosting services.
From here, you can:
- Secure your blog with a cloudflare tunnel and a custom domain
- Customize your theme and navigation
- Start writing and publishing right away
Hopefully this has helped you get started with ghost.
Thanks for reading!
Curious what kind of hardware you can start with?
Check out my blog for a budget home server for self-hosting (2025 edition).